 HELLO FRIENDS! I finally did it! More than a week ago I posted a photo on Instagram that I’m working on my blog post about «how it’s going on for beginners like me to start and find what works» in planning. Honestly… it didn’t take me that long to make photos and write the text, it’s just that I decided to go till the end of the month and show the full August page and the start of September!
So… How did I come up with having and using a planner? — Well, I’m sure I’ve always been like this but didn’t put much efford on working about it! 🙂 Oh, and if you are looking for some fancy planner overview — it’s not it! It’s a long walk towards the pro-planning, and I’m only at my FIRST STEP!!!
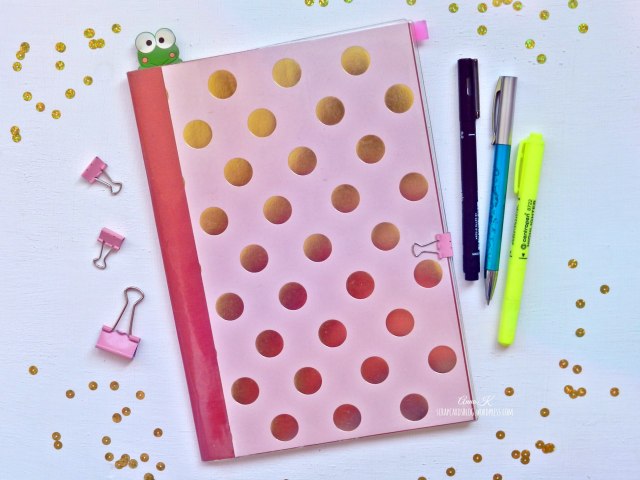
THE PLANNER. When I finally decided that I want to do planning I searched for planners and it was quite a challenge!!! In a country where I live this branch of industry is at it’s basics! Simple notebook is almost what one can find, and with the money differense as it’s now — it coasts fortune to order from USA! TRUE? I felt in love with Erin Condren Life Planner the moment I saw one on Youtube for the first time!!! But for now it’s just a DREAM… almost impossible dream. SO… I remembered that I have one very fine monthly planner that I started a lo-o-ong ago and that was quite empty! THAT WAS IT! — GUNMANGZEUNG monthly SIMPLANNER. It was in «brick» color but being quite crafty I used some scrappaper in pink & gold and that’s the way my planner looks now and that’s THE monthly planner I’m going to talk about in this blog post: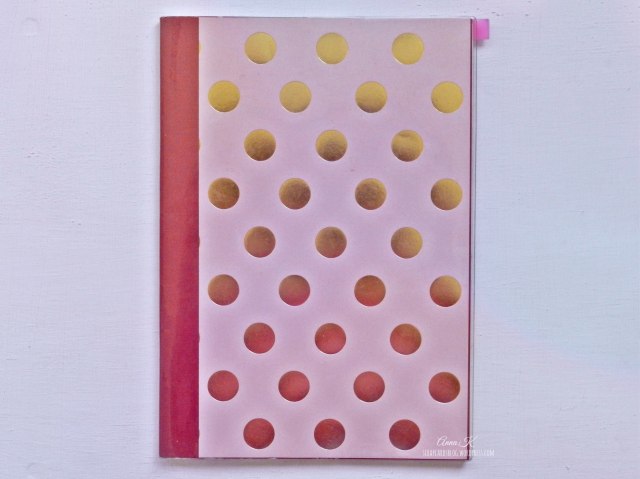
EMBELISHMENTS and PENS. The other thing I want to talk about before we actually go inside the planner are my planner’s embellishments and pens I use:
- sticky color paper stripes (handmade)
- paper clips
- watercolored and cut stamp images (handmade)
- pen
- black marker
- highlighter
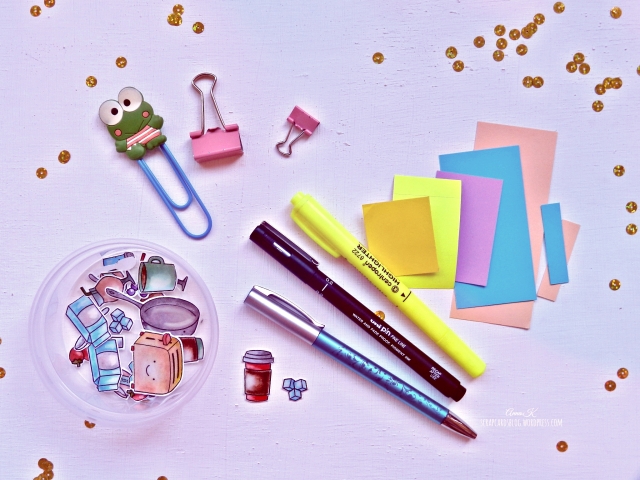 Most of the embellishments I made myself by using crafty supplies — stickers from color paper and sticky stripes, and others by cutting and coloring the stamp images I use for card making!
As for the text writing I didn’t decide yet what works better for me, that’s why I use both regular blue ink pen and 2mm marker with pigment ink. And also a bright yellow highlighter from Centropen.


THE PLANNING. Ok! Now let’s go actually inside my planner and talk more about it. I started my planning jorney at the beginning of August, and this is the full page view at the end of the month:
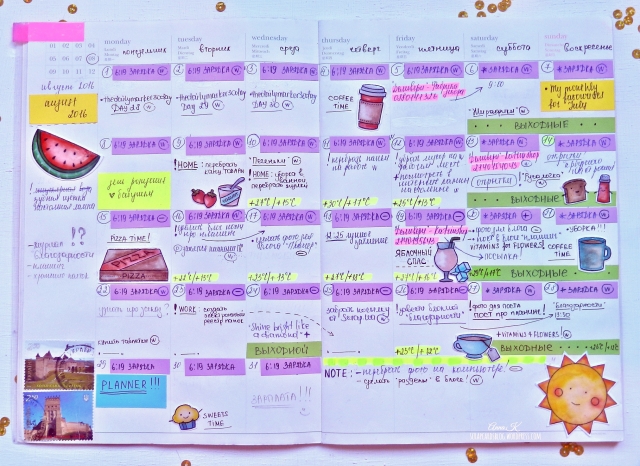
- at the top left corner I marked the number of the month
- below I wrote the name of the month and year
- below are «things that are going to end and I need to buy»
- below are «things I want to do/make/write about»
- at the bottom right corner I have «Notes»
Then there is a month actually: one week in a line, each week starts with Monday.
This is how I used my color sticky stripes:
- «purple» — for my workouts
- «yellow» — for Monthly favourites
- «green» — for weekends
- «blue» — for something «important» to do
- «bright yellow» — for birthdays
I also did some highlighting:
- «pink» — for crafty supplies orders
- «yellow» — for the weather temperature
And as far as you’ve already seen I used a lot of stamp images for decoration. LOVE LOVE LOVE it!!! I found out that Lawn Fawn stamps work great for this purpose.
NEW MONTH PLANNING. Now let’s move on to the upcoming month — SEPTEMBER!

I’ve already worked on the half of the month — put some Fall decorations, marked and wrote the month and year. I also put some sticky stripes (I decided to use purple, blue and peach for this month) for workouts, weekends, birthdays, monthly favourites and notes. And to the left I wrote things I need to get soon, and some thoughts on future blog and Instagram posts!
WHAT ELSE? Well, the half of my monthly planner is Notes section. I didn’t think of using it but at some point I realise that it’s a good opportunity to do more organazing. So, what else do I keep track of in my Planner:
- Supplies page — this is where I put the list of my crafty supplies that I’ve just bought/ that are comming to an end/ already gone and I need to get more
- Posting page — this is where I keep track of my Instagram, Blog and other postes
- Money page — this is where I mark down the money «come in»/:come out» 🙂
THAT’S IT! I see myself improving my planning style from day to day, finding new things that work for me! And I so hope this post is a bit helping in anyway to somebody of you who is thinking about starting planning life! JUST START!!! 🙂
Waiting for your comments and see you again with «My Planner» updates at the end of September! Bye! Hugs… hugs… hugs!
Anna.K

Wow!!! Excellent job! Love the planner color!
НравитсяНравится 1 человек
Thank you so much!!!
НравитсяНравится
Thank you so much! I’m a newbie too ,and also I live in Serbia so I now the struggle with shipping. This post is encouraging so thank you for that.
3trešnje
НравитсяНравится 1 человек
Wow!!! Thank you so much for your comment! I rarely see people in here! So it is very encouraging for me too! Hugs
НравитсяНравится